Surfshark for Linux Users – Installation, Configuration, and Tips
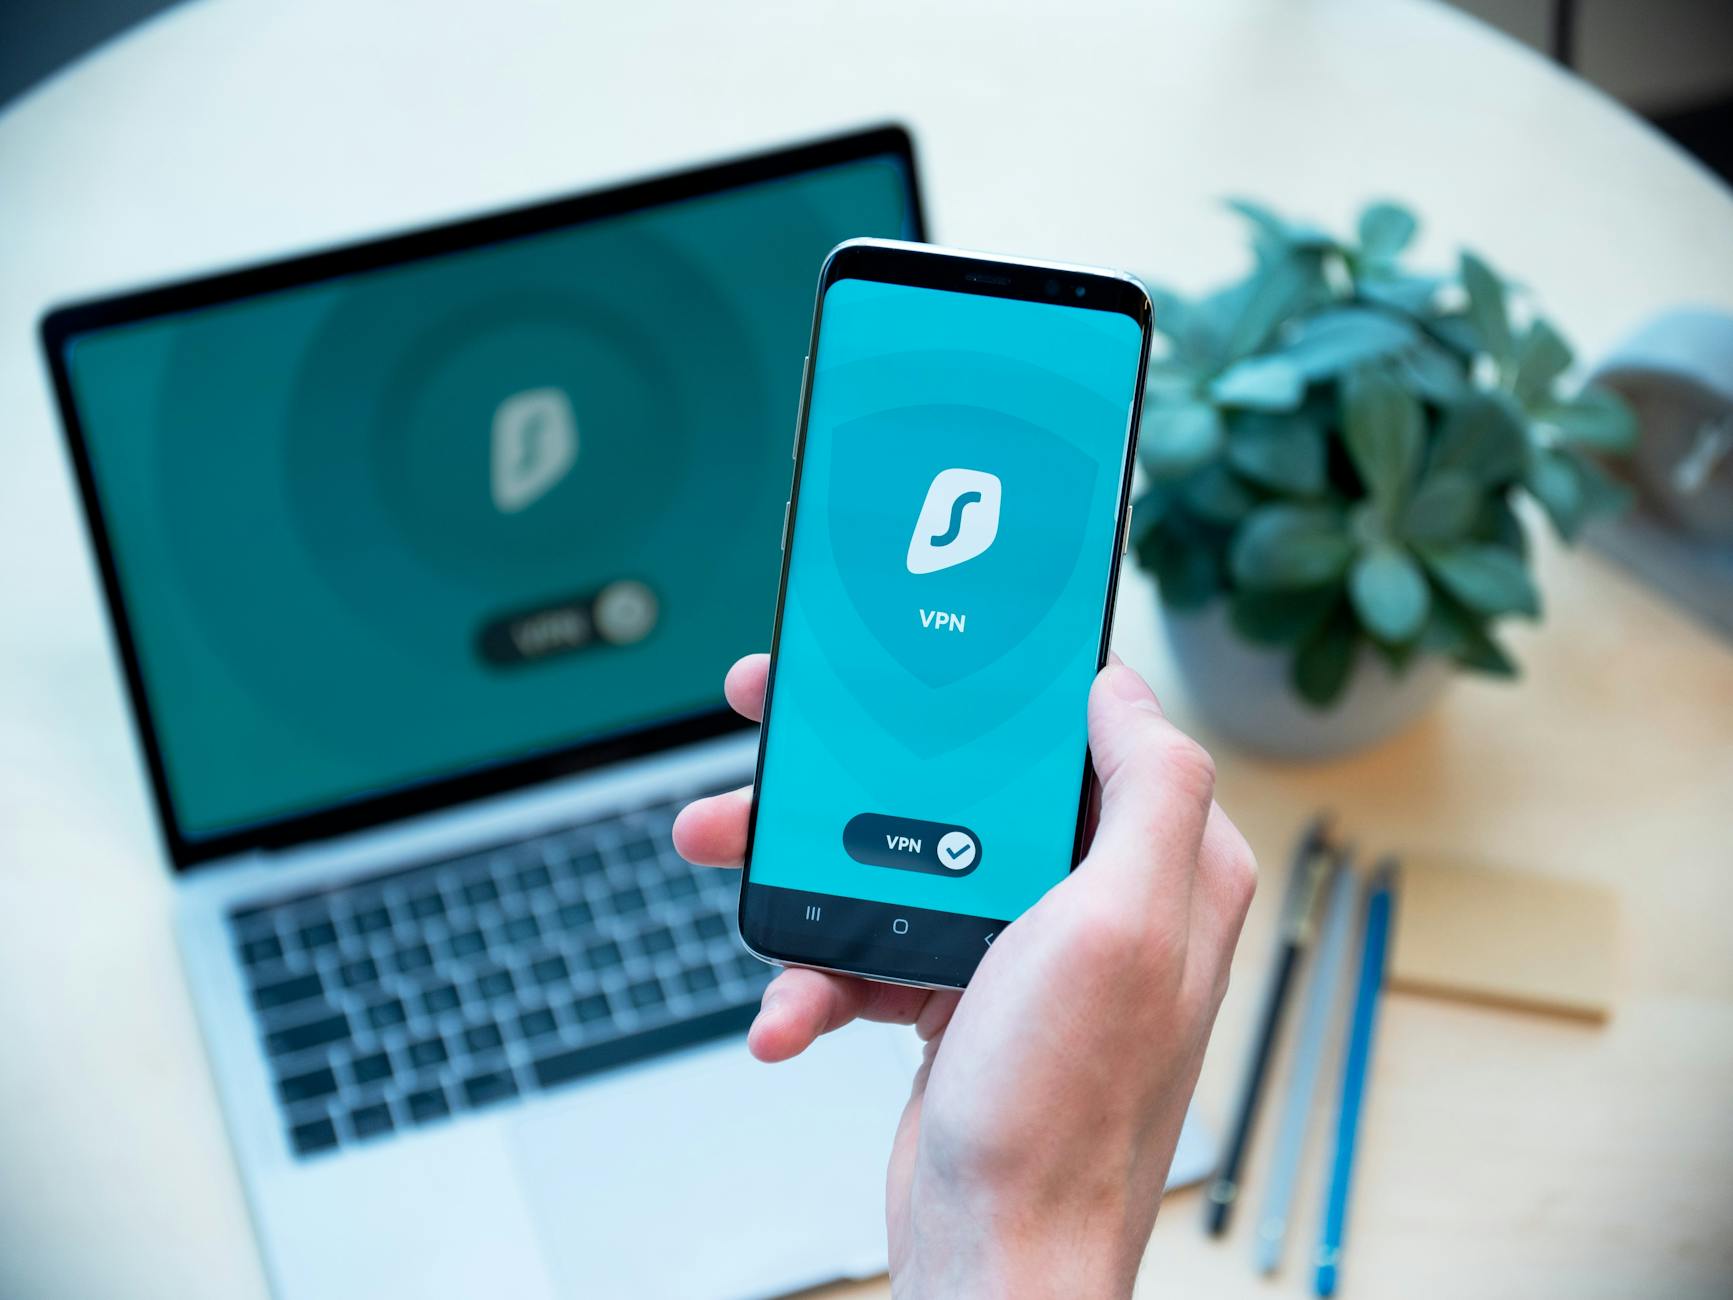
Hey there, Linux adventurers! Navigating the digital world safely is more important than ever, and if you’re a Linux user, you appreciate control and security. But are you taking full advantage of tools that can significantly boost your online privacy and freedom? Using a VPN (Virtual Private Network) is a fantastic way to protect your … Read more