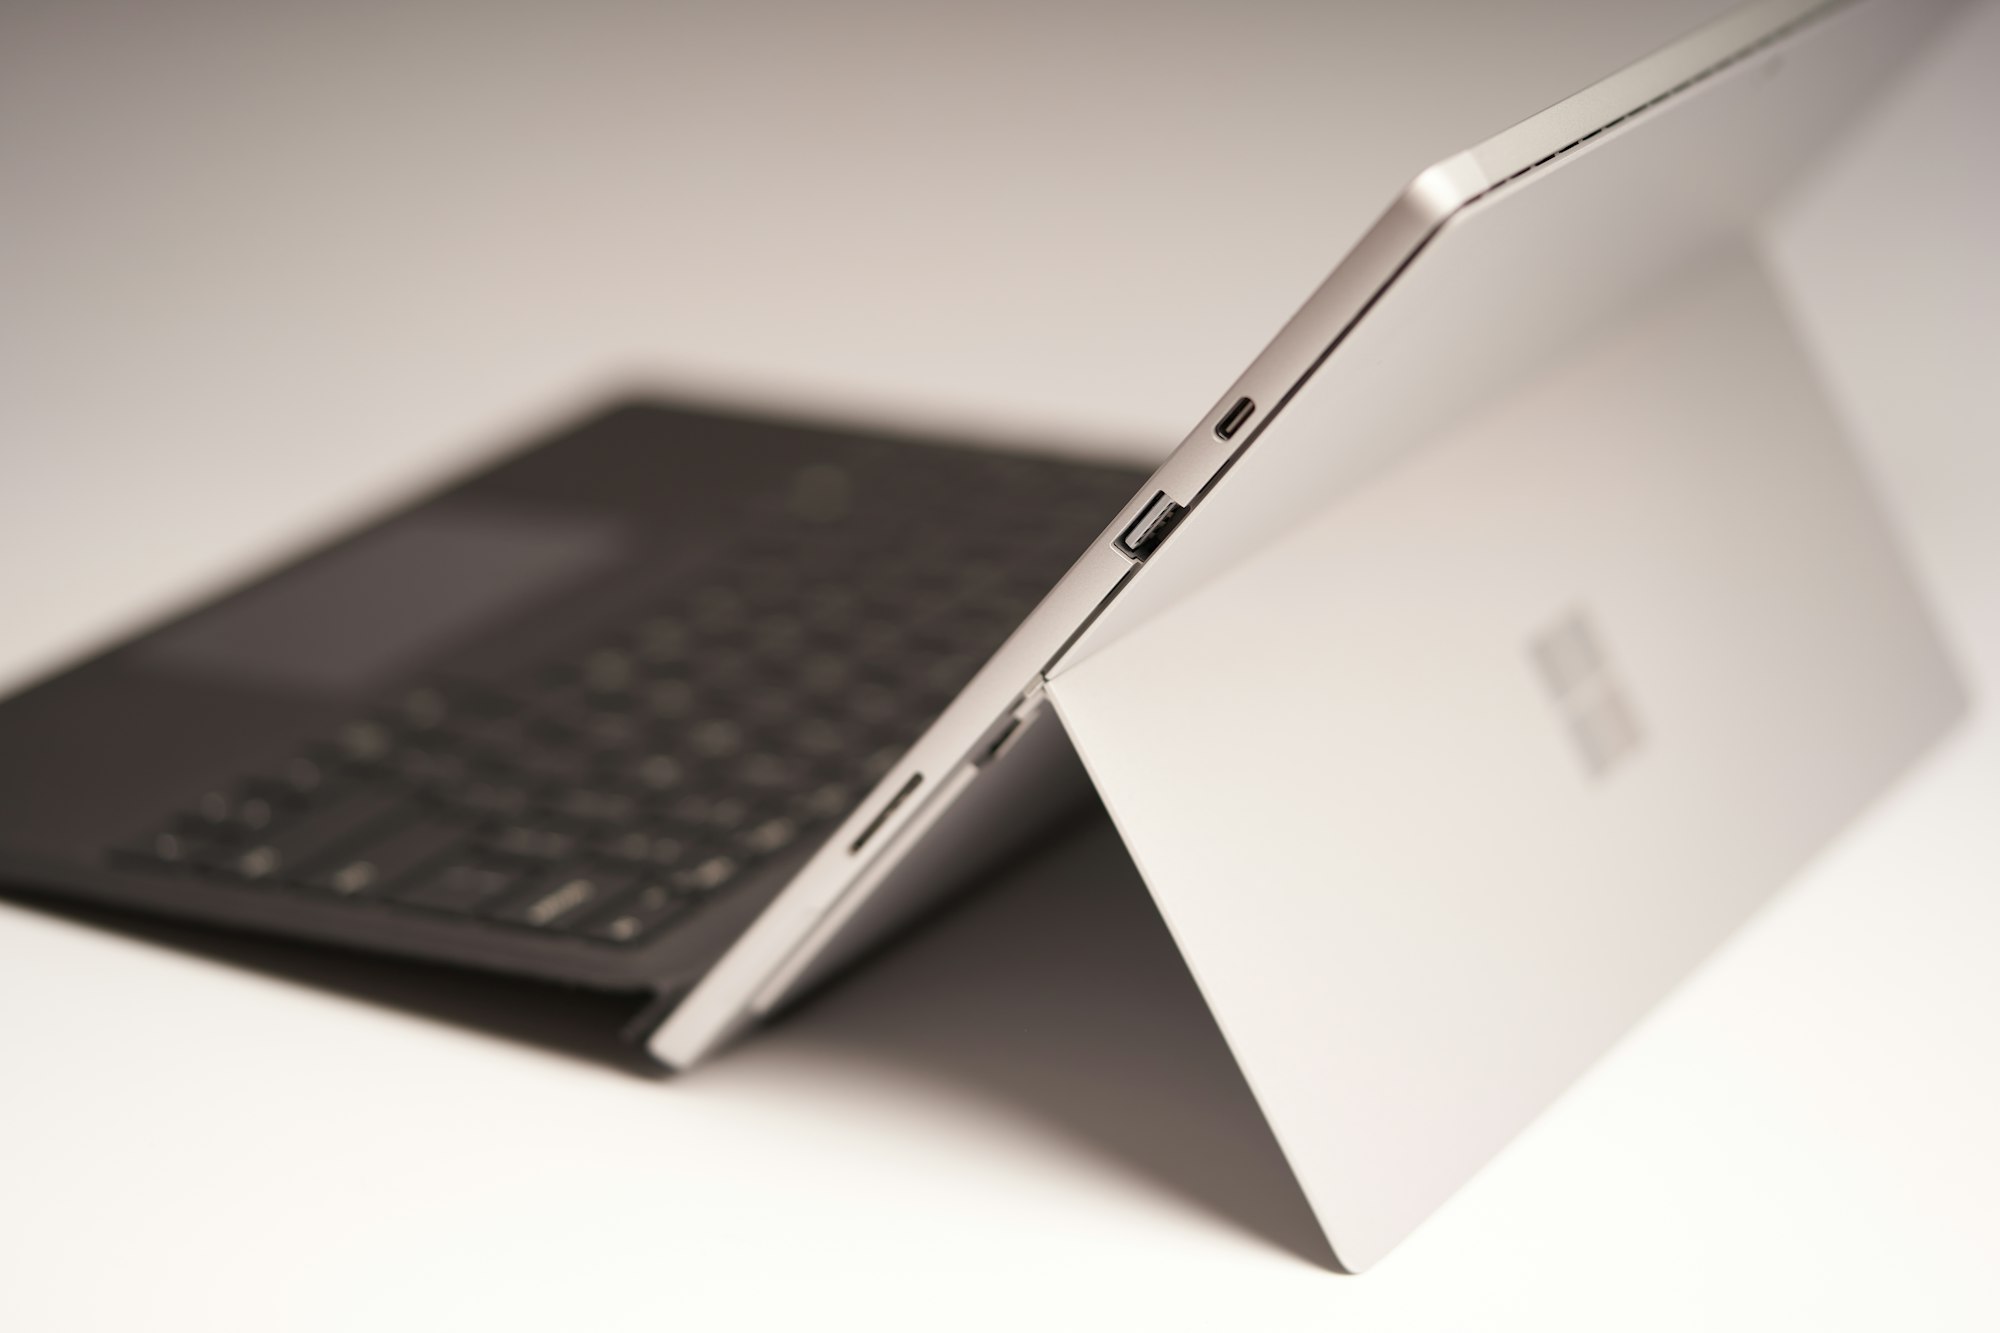
If you’ve ever taken a stroll down memory lane with your good old Surface Pro 4, you might have thought, “Hmm, can I squeeze a bit more life out of this machine?” Well, you’re in luck! Today, we’re talking about an exciting journey: installing Linux on your Surface Pro 4 and giving it a new lease on life.
Why Consider Linux for Your Surface Pro 4?
Let’s face it. Technology advances at the speed of light, and while your Surface Pro 4 was a beast in its heyday, the hardware might feel a tad sluggish with the latest Windows updates. Enter Linux—an open-source playground that can transform your Surface Pro 4 into a snappy, modern device.
Linux is like the Jack-of-all-trades in the operating system world. It’s versatile, customizable, and oh-so-light on resources. It’s an ideal choice for folks who have older hardware but aren’t quite ready for a complete device overhaul.
Choosing the Right Linux Distribution
One of the best parts about diving into the Linux ecosystem is the sheer number of flavors—or ‘distributions‘—you can choose from. From the sleek and user-friendly Ubuntu to the customizable arch-based Manjaro, you’re spoiled for choice.
If you’re a Linux newbie, a distribution like Ubuntu is a great place to start. It’s well-supported, easy to install, and has a massive community of developers and enthusiasts to help you through any hiccups. Plus, its compatibility with the Surface Pro 4 is top-notch, thanks to its Linux Kernel that provides excellent hardware support.
What You’ll Need for the Installation
Before we dive into the nitty-gritty, let’s gather our tools:
- A USB drive with at least 8GB of space.
- Your Surface Pro 4 (obviously!).
- An Internet connection for downloading Linux and updates.
- A cup of coffee or tea, because, well, why not?
The Installation Process: A Step-by-Step Guide
- Download the Linux Distribution: Head over to the Ubuntu website and grab the latest LTS (Long Term Support) version. Download the ISO file.
- Create a Bootable USB: You’ll need software like Rufus or Etcher to turn that ISO into a bootable USB drive. Follow the on-screen instructions—it’s pretty straightforward.
- Back-Up Important Data: Remember, installing a new OS could wipe your data. Always back up before taking the plunge.
- Booting into Linux: Insert the USB drive into your Surface Pro 4 and reboot the device. You’ll need to press the ‘Volume Up’ button while you power up to enter the UEFI settings. Choose to boot from the USB.
- Live Environment: Initially, you’ll boot into a ‘live’ version of Ubuntu. This is a great way to test things out. Poke around, and make sure your touchscreen and pen work. Happy? Let’s proceed.
- Install Linux: You’ll find an ‘Install Ubuntu’ icon on the desktop. Click that, and the installation wizard will guide you through the setup.
- Post-Installation: Once the installation is complete, you might want to install updates and some Surface-specific tweaks. Open Terminal and type the following commands:
sudo apt update
sudo apt upgrade - Extra Drivers and Fixes: The Linux-Surface project provides additional drivers and fixes for the Surface line-up. Run these commands in the Terminal to add the necessary repository and install the kernel:
sudo add-apt-repository ppa:linux-surface/linux-surface
sudo apt update
sudo apt install linux-surface - Reboot and Enjoy: You did it! Your Surface Pro 4 is now running Linux. Reboot and immerse yourself in the newfound performance and freedom.
Final Thoughts
Breathing new life into older tech is incredibly rewarding. With Linux on your Surface Pro 4, you unlock a world of possibilities. Whether it’s for work, leisure, or a bit of coding, your revamped device is ready to take it on.
And there you have it—your comprehensive guide to injecting a second life into your Surface Pro 4 with Linux. It might look like a lot of steps, but each one brings you closer to a more efficient, customized experience. So why wait? Bring your Surface Pro 4 back into the limelight with the power of Linux.

Leave a Reply